Before you begin
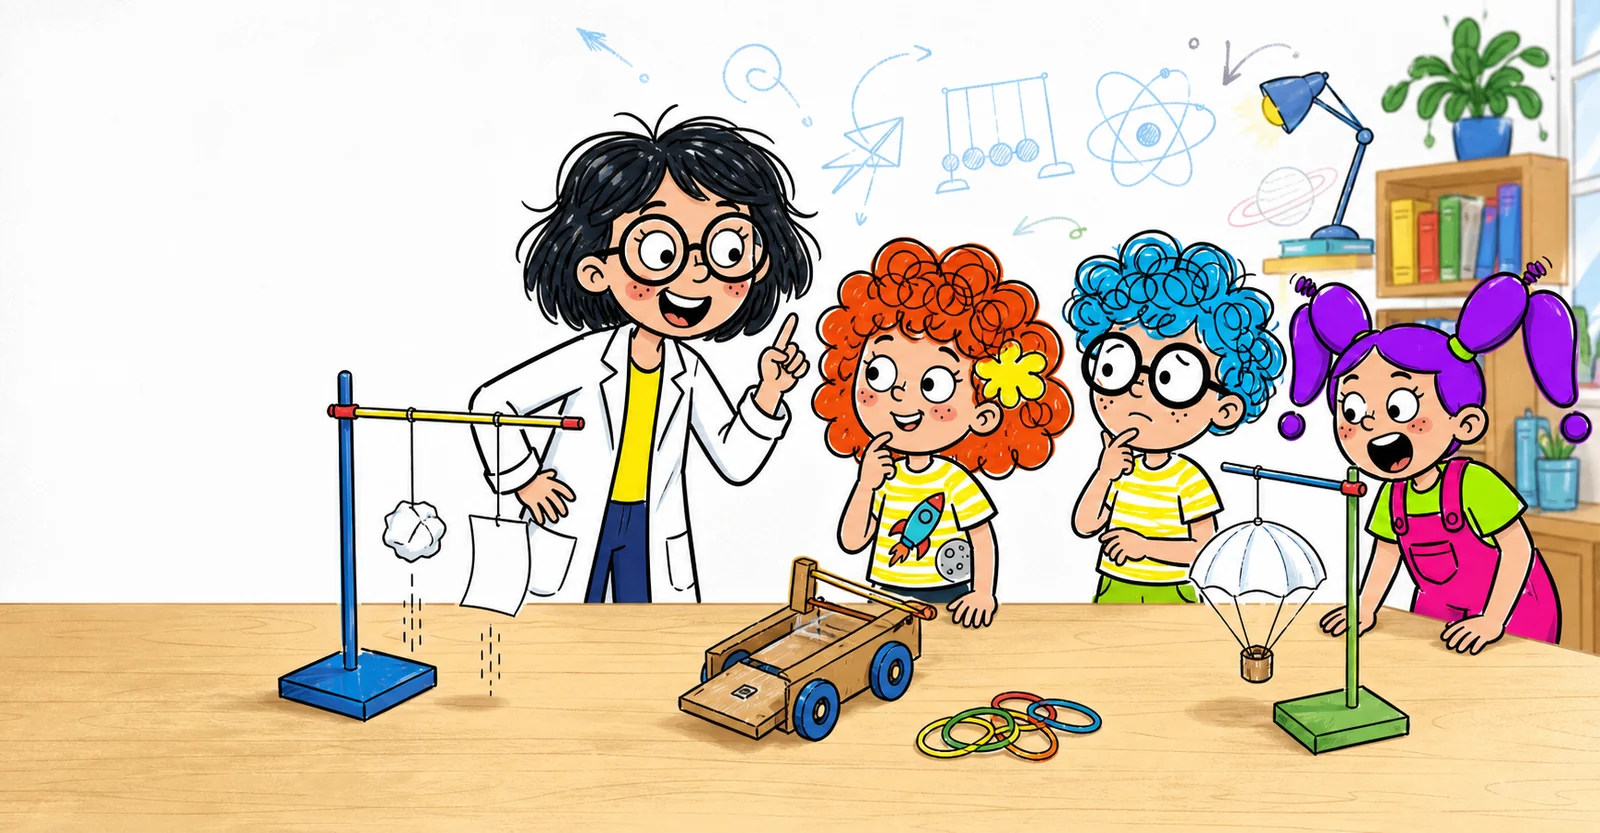
Four rules for experimenting safely
- An adult prepares scissors, rubber bands and small parts and stays present during every test.
- Drop objects only from an adult’s shoulder height—never from chairs, tables, stairs or balconies.
- Keep rubber bands away from faces and eyes. Never use them to launch objects.
- Keep the landing area clear and soft. A rug or folded towel works well.
01 · Gravity
Why do things fall downward?
Gravity is the attraction between objects with mass. Near Earth’s surface, we observe it as a force pulling objects toward Earth’s center. Air can slow a fall, however, and make the result less obvious.
“Earth is like one enormous invisible hug: it pulls everything toward itself.”
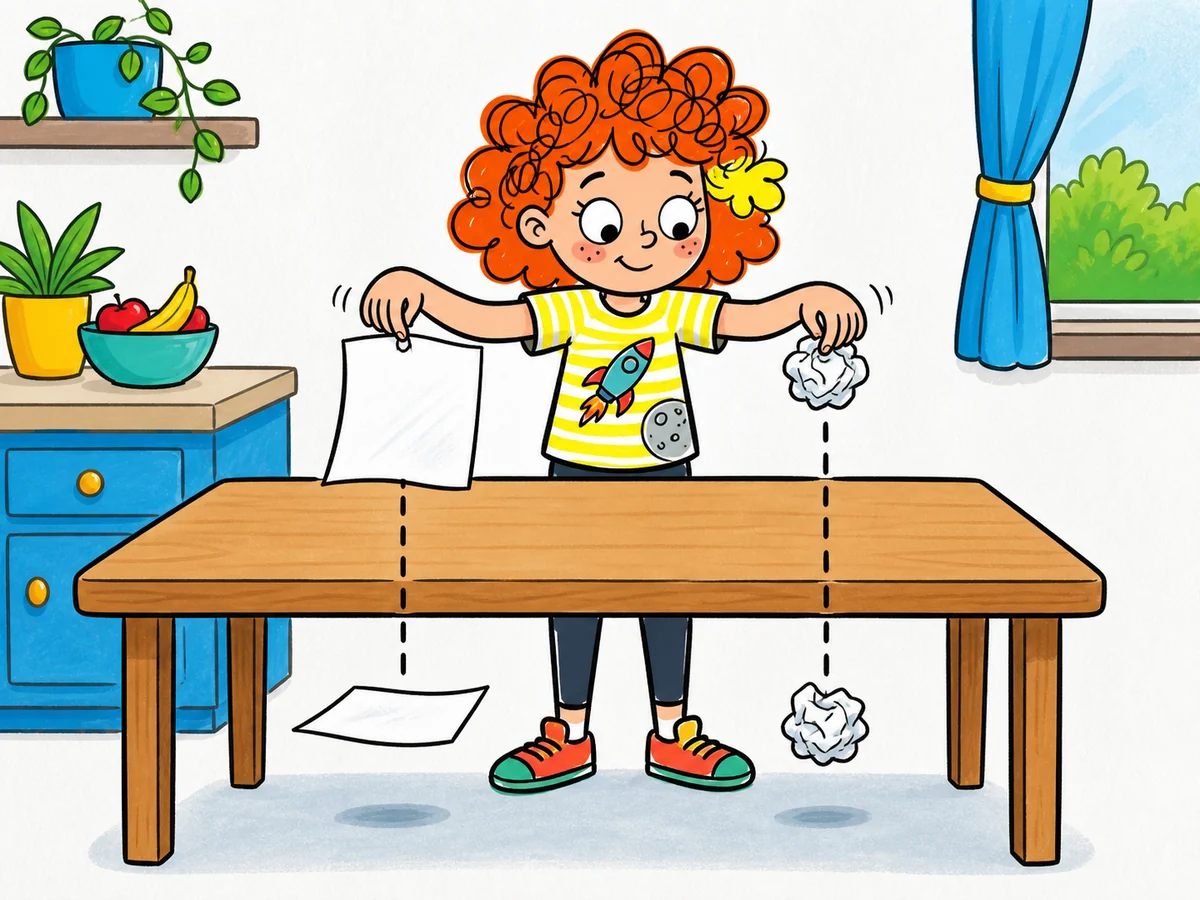
The sheet and the paper ball: which lands first?
What we discover: shape can greatly change a fall even when the amount of paper—and therefore its mass—stays exactly the same.
You will need
- 2 identical sheets of letter-size or A4 paper
- 1 rug or folded towel
- 1 pencil for labeling the sheets
- Make two shapes. Leave A flat and crumple B firmly without tearing away any paper.
- Make a prediction. Ask which will touch the rug first and why.
- Line up the start. The adult holds A and B at the same height—about shoulder level—with their lower edges aligned.
- Release without pushing. Open both hands at the same time while another person watches from the side.
- Repeat three times. Swap the hands holding A and B each time so one faster hand does not always affect the same sheet.
- Run the decisive control. Crumple A into a ball similar to B and repeat the drop.
A question that sparks reasoning: “Did we change the amount of paper, or only the shape meeting the air?”
Same size, different masses: do they land together?
What we discover: gravity does not “choose” the heavier object, but in air a small mass is affected proportionally more by drag.
You will need
- 1 ping-pong ball
- 1 solid rubber ball of similar diameter
- 1 folded towel
- 1 phone with slow-motion video, optional
- Predict. Let the child hold both balls, then ask whether the heavier one must land much earlier.
- Align. The adult holds them at the same height over the towel, with the bottoms level.
- Release. Open both hands at the same instant without pushing. Watch from the side or record in slow motion.
- Control the release. Repeat five times, swapping the balls between left and right hands.
- Review the video. Pause at first contact with the towel and compare all five trials, not just one.
Investigator’s question: “Does the same difference appear in at least four out of five trials?”
The pendulum: what changes its rhythm?
What we discover: for small swings, shortening a pendulum reduces the time required to complete each oscillation.
You will need
- about 80 cm (31 in) of strong string
- 1 modeling-clay ball about 3 cm (1.2 in) wide
- 1 wooden stick or spoon
- 2 stable chairs of the same height
- masking tape
- measuring tape and stopwatch
- Build the long pendulum. Attach the clay ball and set the distance from the suspension point to its center to 60 cm (24 in).
- Define what to count. One complete oscillation begins on one side, travels to the other and ends when the ball returns to its starting side.
- Start without pushing. Move the ball slightly, making an angle of about 10 degrees, then release it as you start the stopwatch.
- Time ten oscillations. Stop at the tenth return. Repeat twice and record both times.
- Change one thing. Shorten the pendulum to 30 cm (12 in), keeping the same ball and a similar small starting angle.
- Compare. Time ten oscillations twice again.
Next test: keep the length at 60 cm and change only the amount of clay. Does the rhythm really change?
02 · Elastic force
How can you explain elastic force to a child?
An elastic object changes shape when stretched or compressed and tends to return to its original form. While deformed, it stores elastic potential energy that can become motion.
“When you stretch a rubber band, it stores up a return. Let go and it tries to get its shape back.”
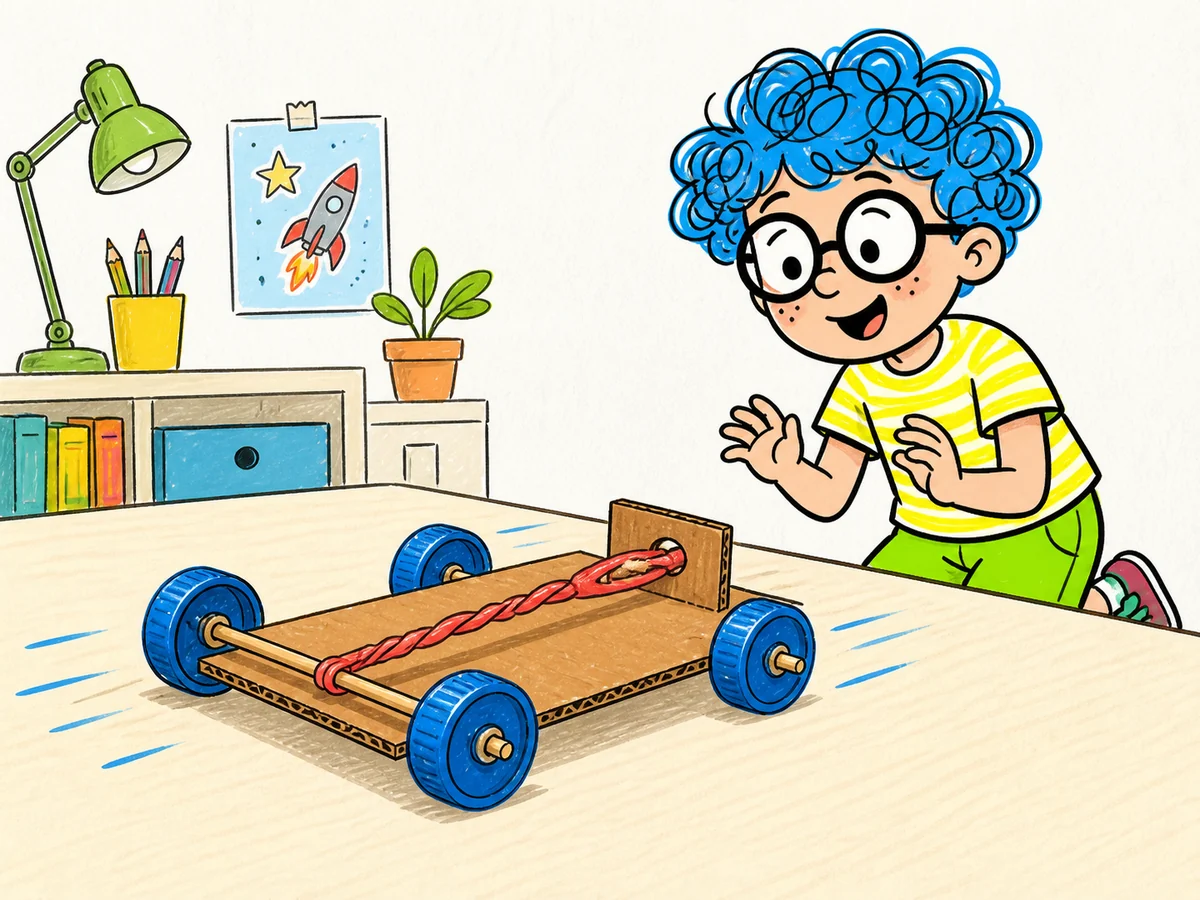
The rubber-band car
What we discover: energy stored in a deformed rubber band can turn an axle and move a small car.
You will need
- corrugated cardboard, about 15 × 8 cm (6 × 3 in)
- 4 identical plastic bottle caps
- 2 wooden skewers about 12 cm (5 in) long
- 1 paper straw cut into four 2.5 cm (1 in) guides
- 1 long, undamaged rubber band
- 1 large paper clip
- tape, ruler and marker
- scissors and an awl used only by an adult
- Mark the axles. Draw two parallel lines under the cardboard, about 2 cm from the front and back edges.
- Make four guides. Tape two straw pieces along each line, one near each side. Leave about 2 cm open in the center so the rear axle is exposed for the rubber band.
- Fit axles and wheels. Slide the skewers through the guides and press a cap onto each end. Wheels should be perpendicular to the axles and not rub the chassis.
- Check free movement. Push the car gently without the rubber band. If it veers or sticks, realign the guides.
- Build the motor. The adult fixes the paper clip at the center of the front edge. Secure one end of the band around the exposed rear axle and hook the other to the clip. It should be barely taut, never stretched to its limit.
- Wind the band. Mark one rear wheel and rotate it backward five complete turns so the band winds around the axle.
- Measure. Place the car behind a start line on a level floor, release without pushing and measure the distance. Repeat three times.
- Change one variable. Repeat with ten turns. Try fifteen only if the band remains moderately stretched and undamaged.
Junior engineer’s question: “Which limit appears first: the band slipping, the wheels slipping, or too much axle friction?”
The rubber-band guitar
What we discover: a plucked rubber band vibrates, and its vibration frequency determines whether we hear a lower or higher pitch.
You will need
- 1 empty tissue box with a top opening
- 3–4 undamaged rubber bands of different thicknesses
- 2 unsharpened pencils
- tape and ruler
- Fit the “strings.” Wrap bands around the box so they cross the opening in parallel without overlapping.
- Make two bridges. Slide one pencil under all bands on each side of the opening and tape them lightly so they cannot roll.
- Listen and look. Gently pluck one band at the center. Watch its rapid motion and listen.
- Stop the vibration. Touch it lightly: when the vibration stops, the sound stops too.
- Compare thicknesses. Pluck bands at the same point with similar force. Record which sounds lowest and highest.
- Test length. Choose one band, measure the distance between pencils, move one pencil closer and pluck again. Use the same band for this comparison.
Musical question: “If you pluck harder, what changes most—the pitch or the volume?”
03 · Air resistance
Can air really slow an object down?
Yes. A moving object collides with and displaces air. Air exerts a force opposite the motion, called drag or air resistance. Area, shape and speed change how strong that “brake” becomes.
“Air is an invisible ocean. When you move, you have to make a path through it.”
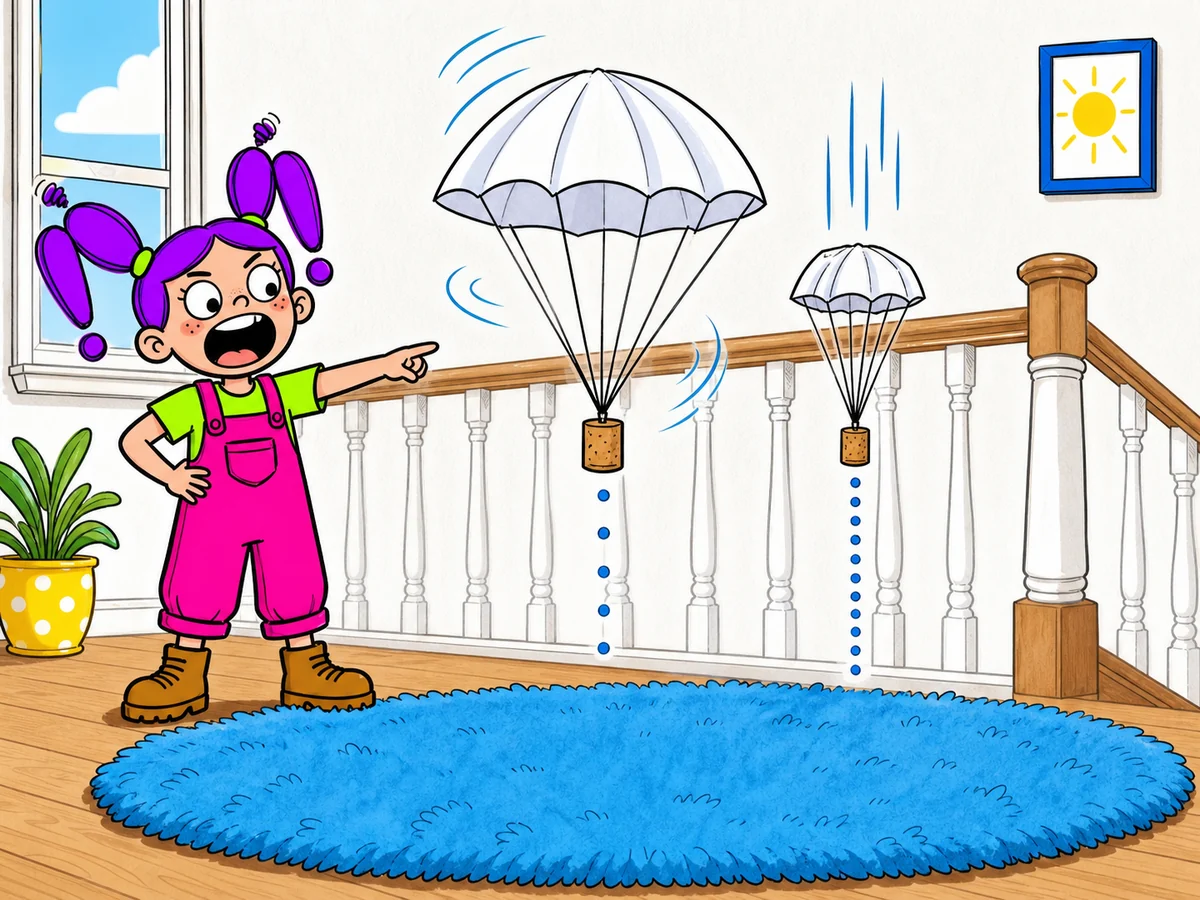
The two-parachute race
What we discover: with the same material and load, a larger canopy area tends to increase fall time.
You will need
- light napkin paper or tissue paper for 2 squares
- 8 pieces of light string, each 25 cm (10 in) long
- 2 corks as similar as possible
- tape
- ruler and marker
- scissors used by an adult
- phone with slow motion, optional
- Cut the canopies. The adult cuts one 25 × 25 cm (10 × 10 in) square and one 15 × 15 cm (6 × 6 in) square.
- Attach the strings. Put a small tape patch on each corner and attach one string over the tape. All four attachment points should be symmetrical.
- Add the loads. Gather the four string ends and tie them to one cork. Repeat, centering each cork below its canopy.
- Remove tangles. Lift each canopy by the center. All four strings should tighten together and the cork should not hang to one side.
- Set the start. Mark the adult’s shoulder height on a wall. Hold the canopy center at that level with the load hanging freely over a rug.
- Release without throwing. Test one parachute at a time and record from the side, or ask another person to observe. Run three drops for each size.
- Run a control. Swap the corks and repeat at least once. The larger parachute should remain slower.
Design question: “Does canopy size, shape or material matter most? How could we test it by changing only one thing?”
The paper helicopter
What we discover: air flowing over two blades creates forces that make the model autorotate and slow its descent.
You will need
- 2 identical paper strips, 5 × 18 cm (2 × 7 in)
- 2 identical large paper clips
- ruler and pencil
- scissors used by an adult
- 1 rug or folded towel
- stopwatch or slow-motion video, optional
- Draw guides. On the first strip, mark a horizontal line 7 cm from the top. Draw a vertical line from the center of the top edge down to it.
- Cut blades and body. The adult cuts the vertical line, then cuts 1.5 cm inward from each side along the horizontal line, leaving the central 2 cm intact.
- Form the blades. Fold one top half forward and the other backward, both at right angles to the body.
- Narrow the body. Below the two horizontal cuts, fold the left and right strips toward the center with a slight overlap to create a stiffer stem.
- Add weight. Fold up the bottom 2 cm and clip a paper clip at the center. Low weight helps the model remain upright.
- Test the flight. The adult holds the lower body with the blades above at shoulder height. Release over the rug without throwing and repeat three times.
- Build the comparison. On the second strip, put the horizontal line 5 cm from the top instead of 7. Repeat the same cuts and folds, keeping paper, clip and release height equal.
- Compare three drops per model. Watch how quickly rotation begins, the descent time and path stability.
Designer’s question: “Which model descends more slowly across three trials, and which follows the straightest path?”
More important than the result
The scientific method in four steps
You do not need difficult words. Repeat the same small routine in every activity.
- 1Predict
“What do you think will happen?” Never laugh at a prediction.
- 2Test
Change one variable and keep everything else the same.
- 3Observe
Count, measure, record or draw what actually happens.
- 4Improve
A “wrong” trial is a clue. Change something and try again.
The best gift is not giving the answer immediately. It is giving a child enough time to build one.
Free resource
My junior scientist worksheet
Enter your email to unlock a simple printable page for recording a prediction, an observation and a new question. Use it with all seven experiments.
Choose “Save as PDF” in the print window if you prefer a digital copy.
Clear answers for curious families
Frequently asked questions about physics experiments for kids
Each answer begins with the essential point and adds only the explanation you need.
What is the easiest gravity experiment?
Comparing a flat sheet with a crumpled sheet is the quickest. It requires two sheets and less than five minutes. It also shows why, on Earth, we cannot discuss falling objects without considering air resistance.
What ages are these experiments for?
They are designed mainly for ages 7 to 10. At seven, an adult guides the build and questions. By nine or ten, a child can time trials, record results and suggest variations.
Do heavy objects fall faster?
In a vacuum, different objects fall with the same acceleration. In air, shape, area and speed affect drag, so objects may arrive at different times. On the Moon, a hammer and feather released together reached the ground together.
What is the difference between mass and weight?
Mass describes how much matter an object contains; weight is the force with which gravity pulls it. Mass stays the same on Earth and the Moon, while weight changes because gravity’s strength changes.
What is air resistance in simple words?
It is the force with which air opposes an object moving through it. A parachute has a large area and displaces a lot of air, so it is slowed more than a compact object.
Why does the paper ball land before the flat sheet?
Because it presents less area to the air. It has not gained more gravity; it has the same mass as the original sheet but a compact shape that encounters less drag.
How do I explain elastic force without formulas?
Say that a deformed rubber band tries to return to its original shape. Mark its resting position, stretch it slightly and watch it return. The car shows how that return can produce motion.
Can a rubber band lose elasticity?
Yes. If overstretched, heated or repeatedly used, it may not return completely to its original shape. This is another reason to keep tension moderate.
What should an adult do during an experiment?
Keep the activity safe and ask questions instead of giving every answer. Prepare delicate parts, invite predictions, observe together and help the child change one variable at a time.
What if the experiment does not work?
Treat the result as data, not failure. Check release height, timing, drafts, symmetry and friction. Then change one thing and repeat at least three times.
Do children ages 7–10 need formulas to learn physics?
No. Relationships, comparisons and precise language matter more at this age. “Larger,” “slower,” “same height” and “only one thing different” prepare the thinking needed for later formulas.
How do I turn a game into a real experiment?
Set a measurable question and change one variable. For example, “Does a larger canopy increase fall time?” Keep the load, strings and height equal and change only canopy size.
What belongs in a home STEM box?
Paper, cardboard, tape, string, rubber bands, paper straws, large caps, pencils and a timer cover many activities. Scissors, awls, clips and small parts should stay in an adult’s box.
What makes a good science book for ages 7–10?
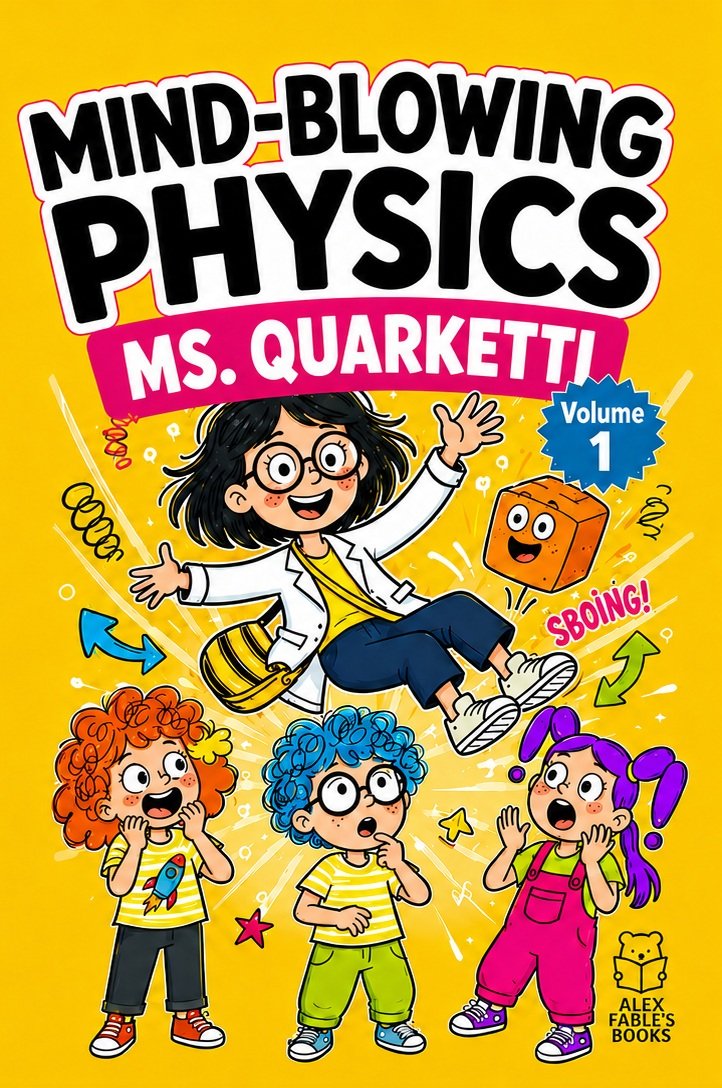
Look for a compelling story built around accurate, testable ideas. Clear illustrations, open questions, everyday examples and activities that invite observation all help. Ms. Quarketti follows exactly that pattern: adventure first, discovery next.
Sources used to check the activities and explanations
For gravity and free fall: Apollo 15 Hammer–Feather Drop and NASA’s Law of Gravitation classroom guide. For pendulum length and mass: OpenStax’s Simple Harmonic Motion.
Builds were checked against Science Buddies activities Build a Rubber Band-Powered Car, Make a Rubber Band Guitar and Flying Helicopters on Mars, plus NASA/JPL’s Parachute Design lesson.
Guide first published and English edition revised . These are demonstration activities and require adult supervision.